

Escrow Tutorial
This tutorial walks through a complete escrow transaction on Kleros Escrow V1: creating a payment, executing or settling it, and raising a dispute if things go wrong.This tutorial covers the Escrow V1 application on Ethereum Mainnet. For the differences between Escrow V1 and V2, see the Escrow product page.
Step 1: Initiate a Payment
1
Go to the Kleros Escrow website
Visit escrow.kleros.io and connect your wallet (Rabby, MetaMask, or WalletConnect). Make sure you have ETH for transaction fees and the payment amount. From the homepage you can create, search, or review transactions.
2
Create a new payment
Click the Create Transaction button in the top right. You deposit funds into escrow, where they remain secure until one of the following happens:
- You manually release them
- The receiver refunds them
- A dispute is resolved by Kleros Court
- The expiry date passes
3
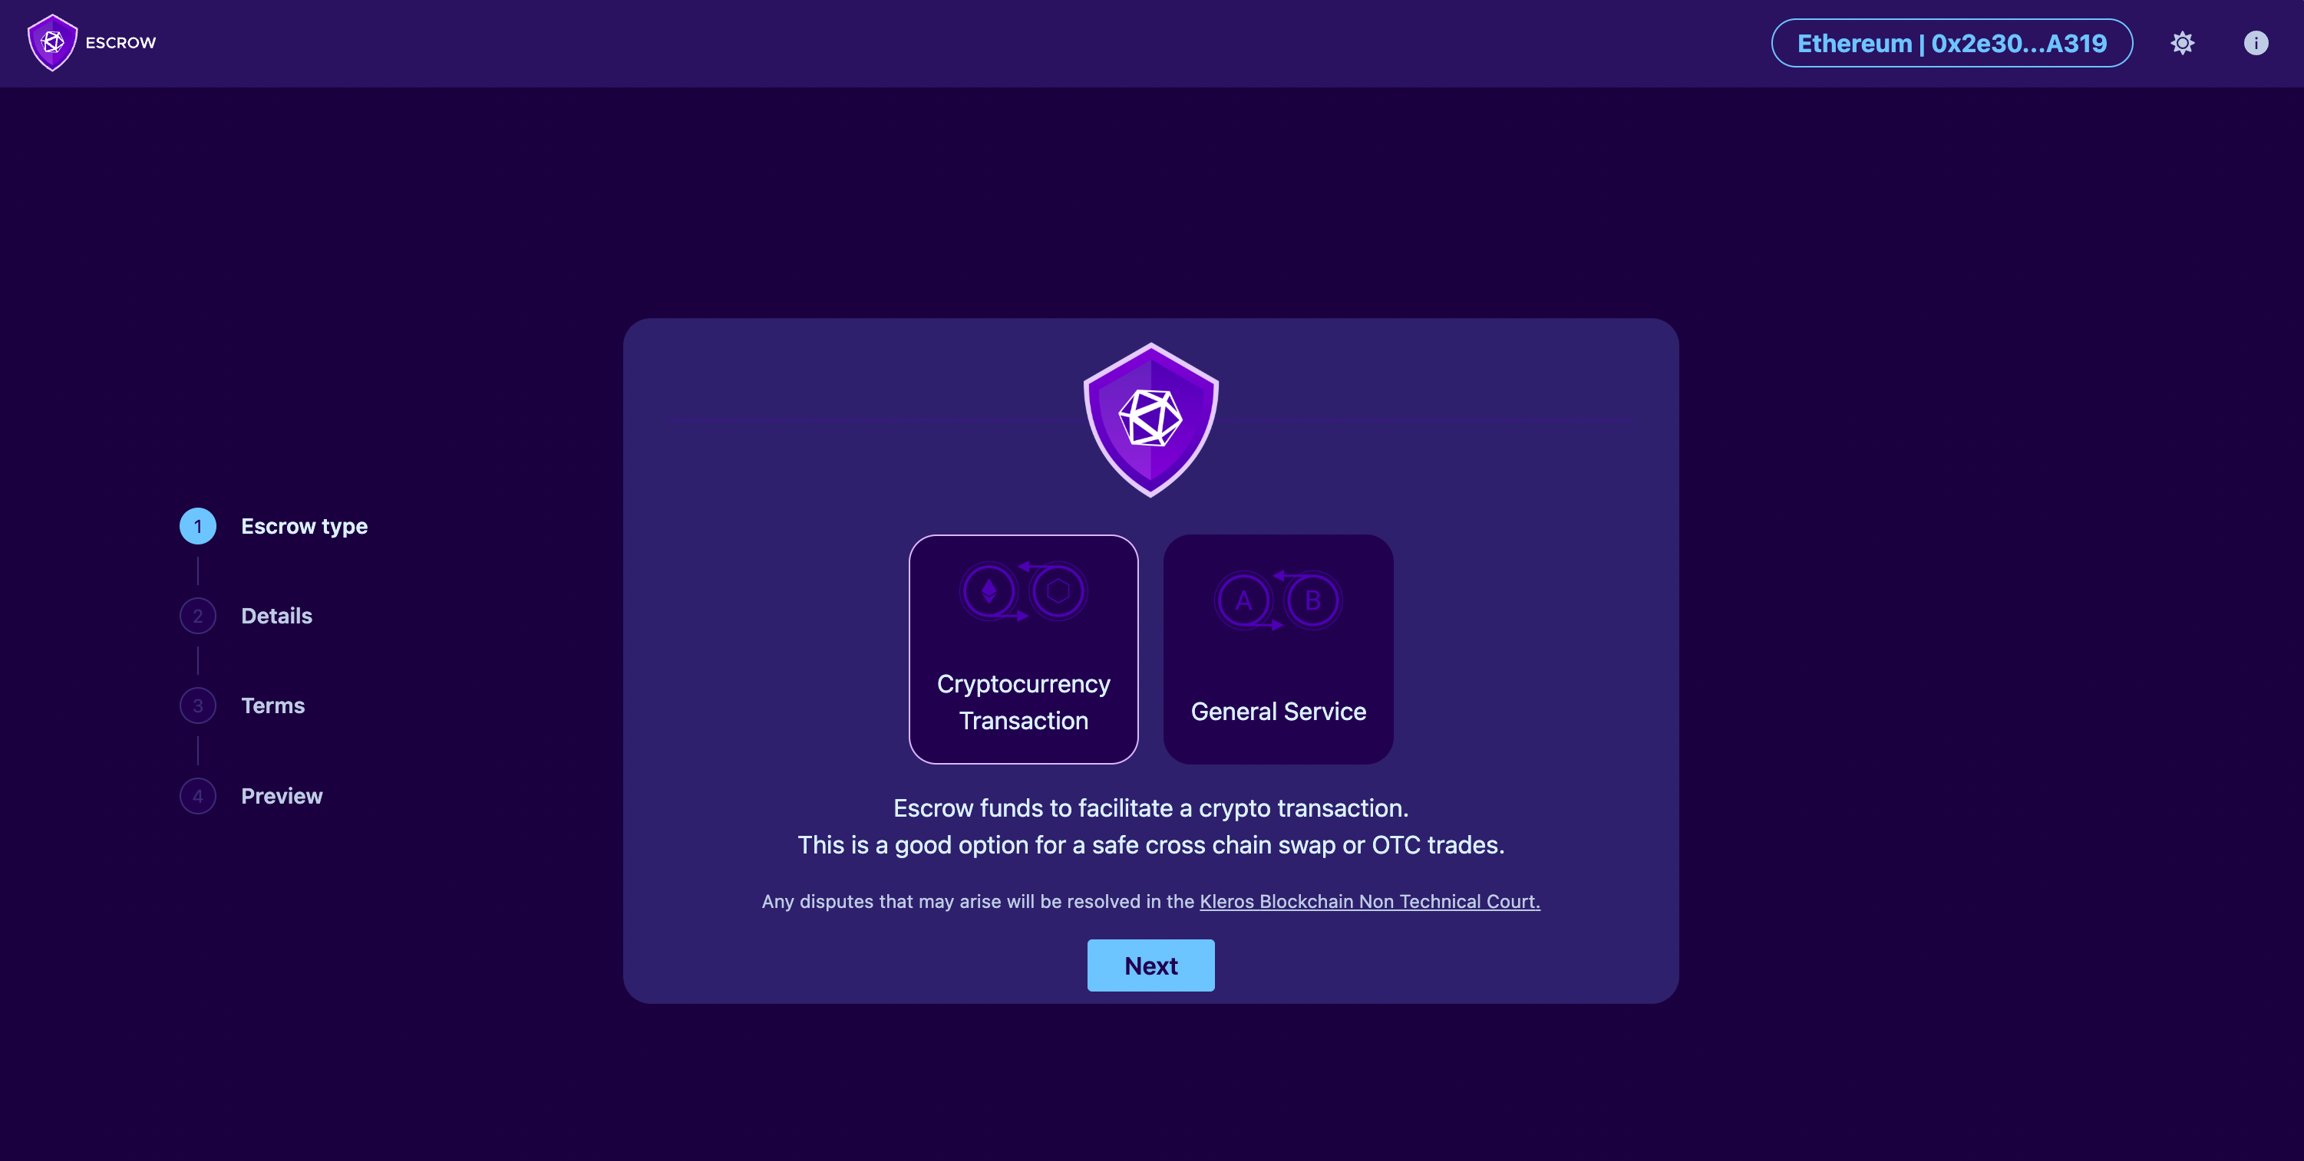
Select an escrow type
Two transaction types are available:
- Cryptocurrency Transaction: trade or exchange crypto assets, useful for cross-blockchain exchanges (for example, ETH on Ethereum for SOL on Solana). Disputes go to the Blockchain Non-Technical Court.
- General Service Transaction: pay for services with custom terms and document uploads. Disputes go to the General Court.
Step 2: Submit the Payment
1
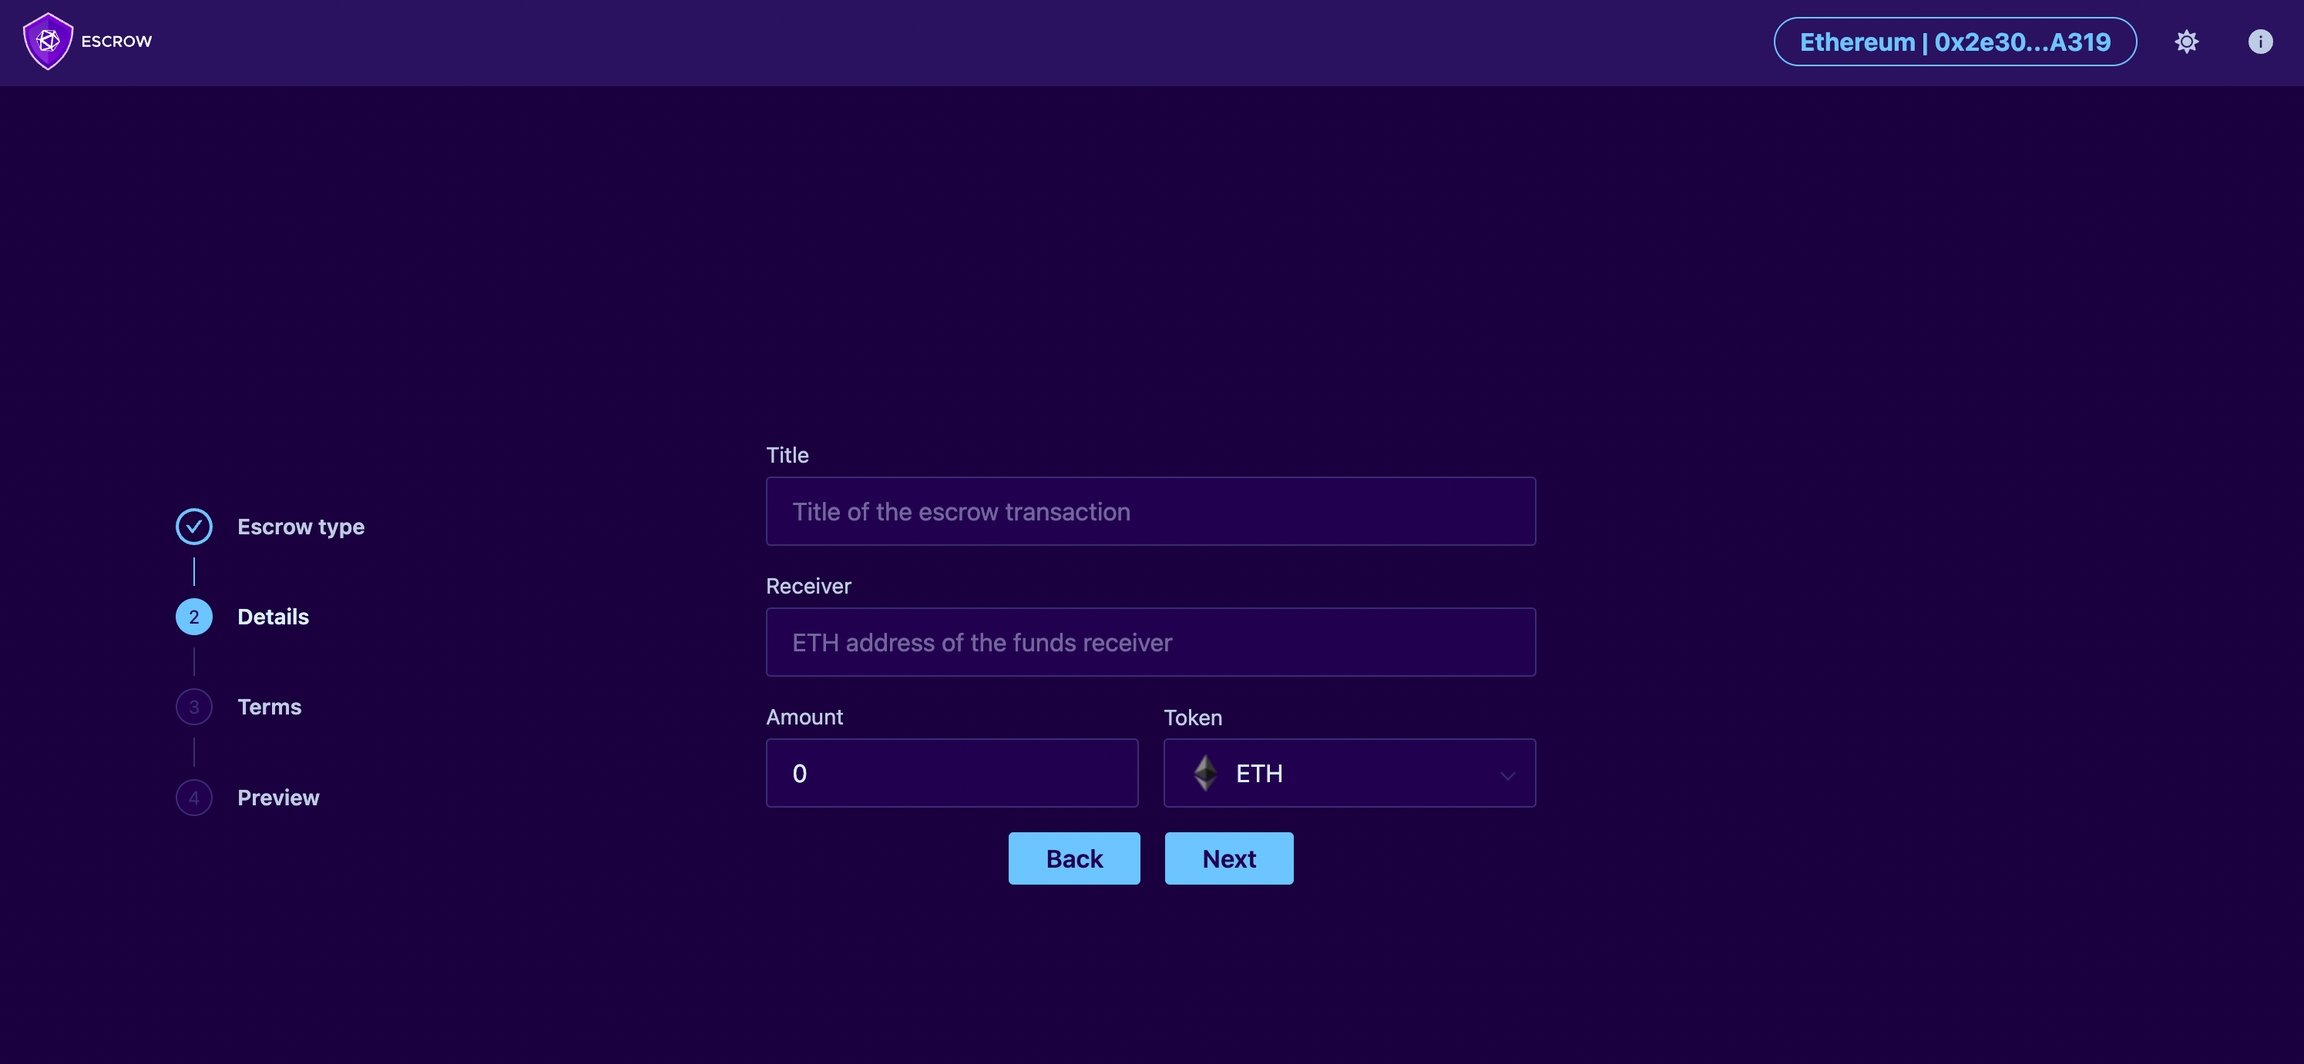
Fill in the transaction details
- Title: describe the transaction (for example, “Marketing Mission with John D.”)
- Receiver’s Ethereum address: the wallet receiving the funds
- Amount and unit: ETH or an ERC-20 token
2
Set the delivery deadline
Provide a detailed description of the service or product. This description is crucial for dispute resolution.The timeline works as follows: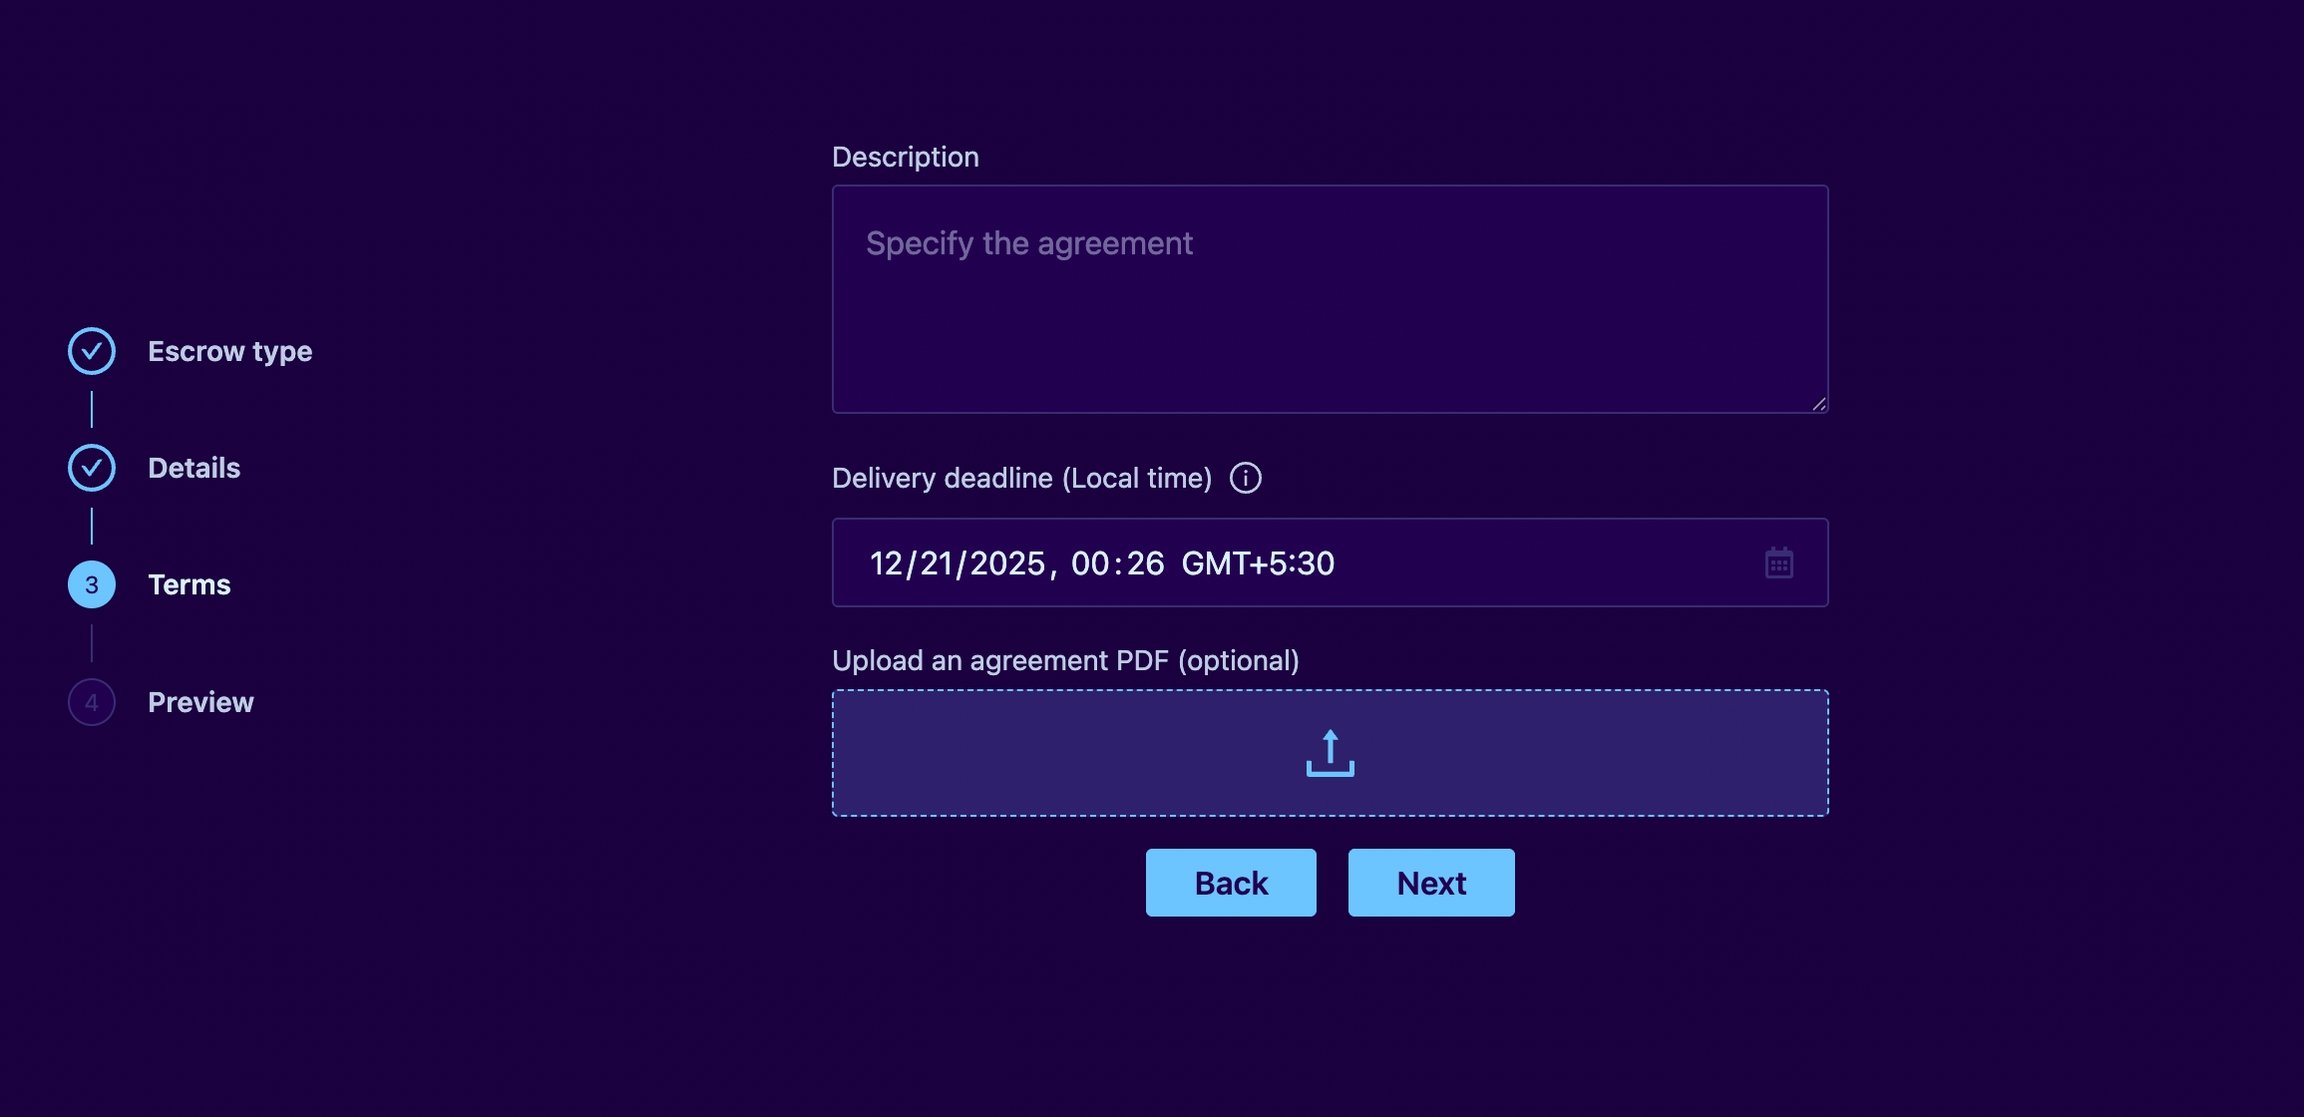
- Service period: from creation to the delivery deadline. Either party can release, refund, or dispute at any time.
- Buffer period: a fixed 7 days after the deadline, serving as a review and dispute window.
- Escrow expiry: 7 days after the deadline, either party can execute the transaction.
3
Attach an agreement document
Optionally upload a PDF agreement, or include the terms in the description. Jurors rely on this document if a dispute arises, so specify clearly:
- The parties involved
- The nature of the service or good
- Specific deliverables
- Acceptance criteria
- Engagement conditions
4
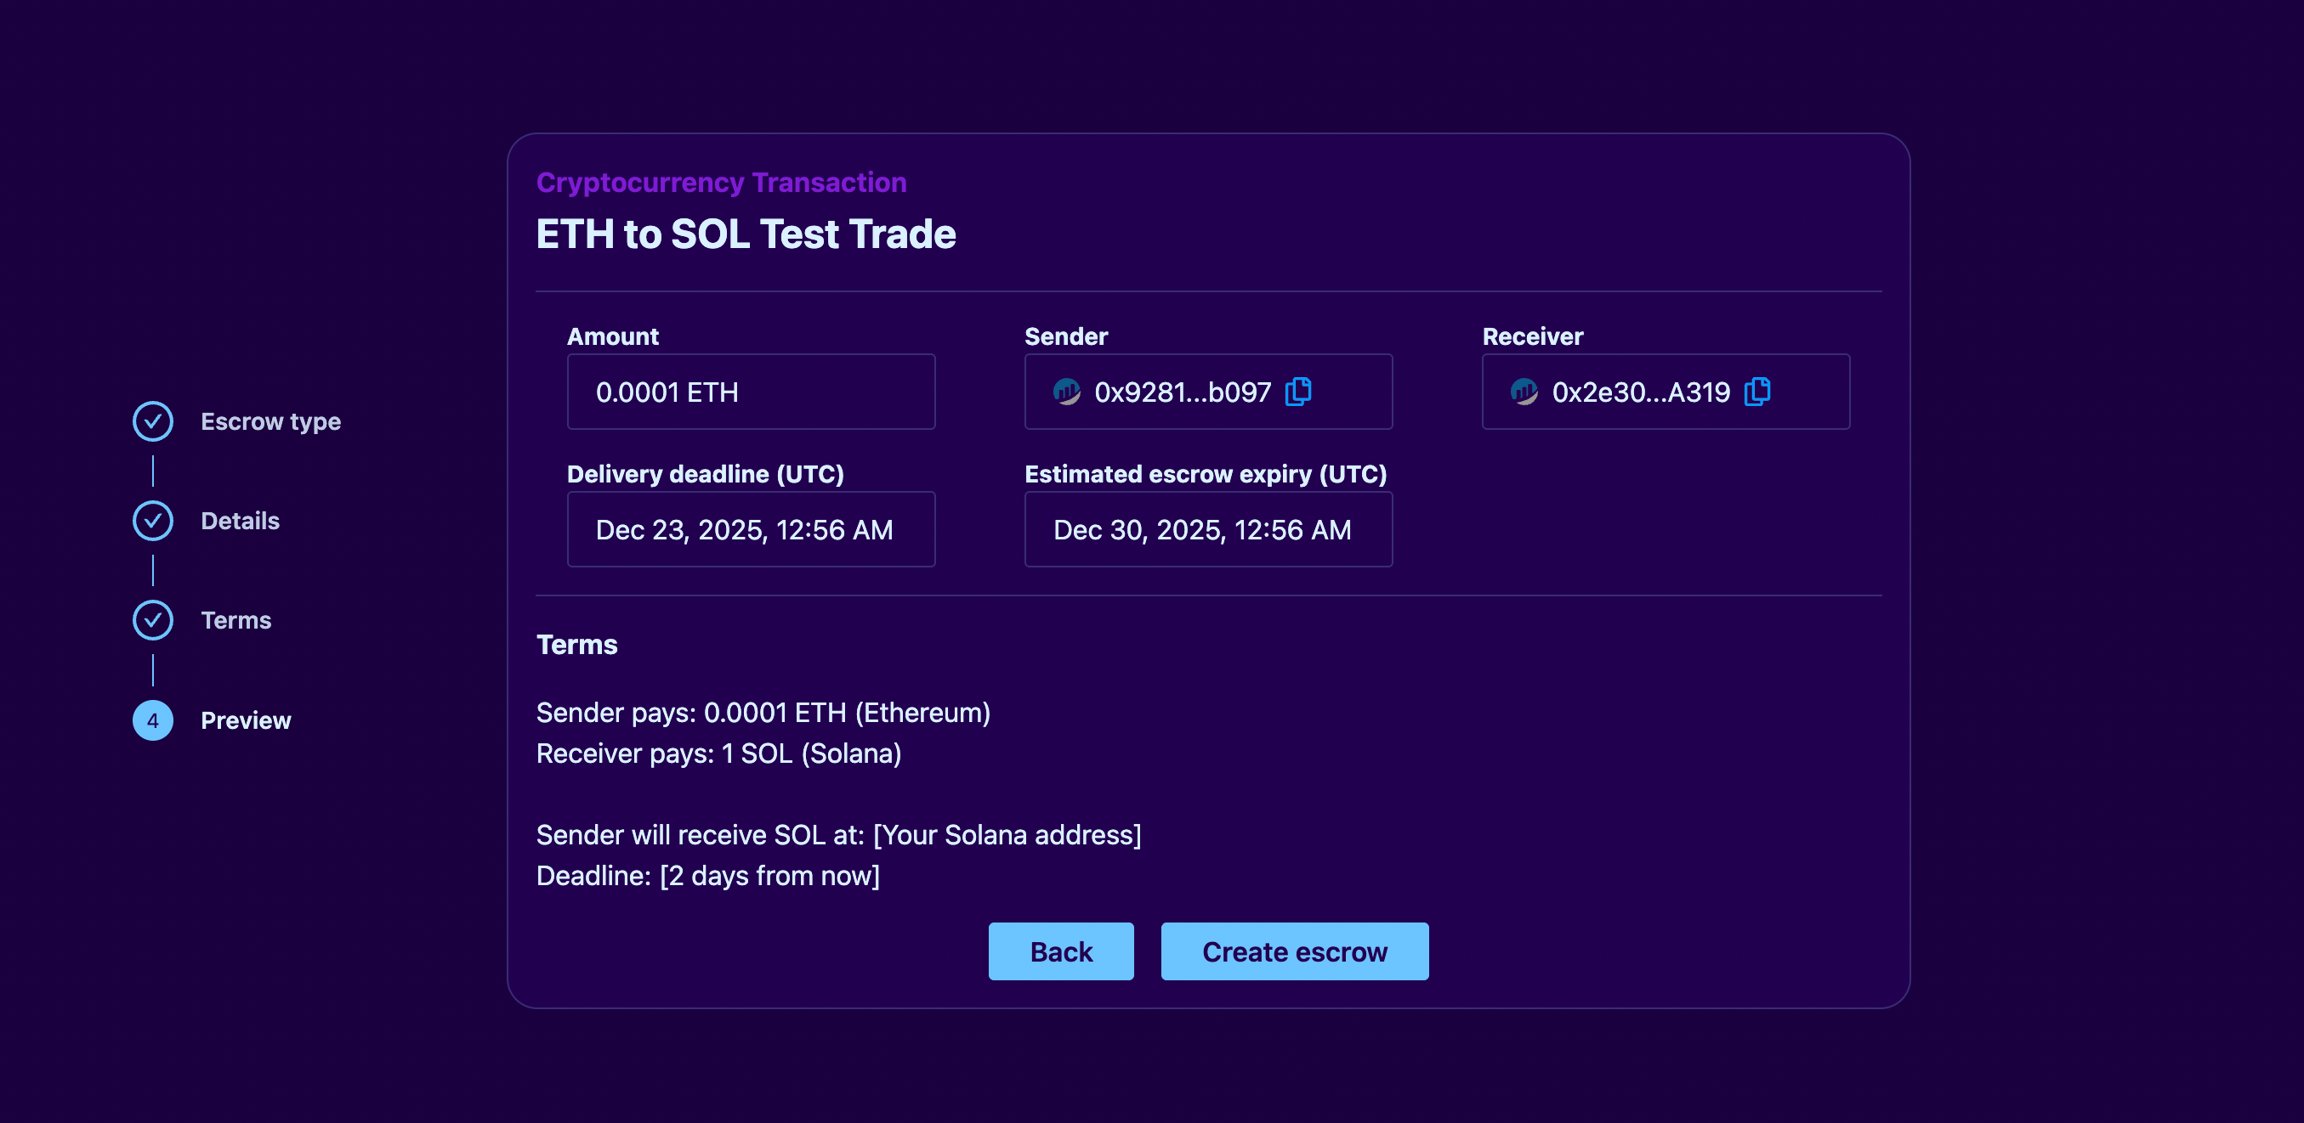
Submit the transaction
Review everything in the Preview step: receiver address, amount, and deadline. Click Create Escrow, confirm the blockchain transaction (deposit plus gas fees), and you are redirected to the payment page.
Step 3: Execute the Payment
After creation, both parties see a transaction summary with their available actions.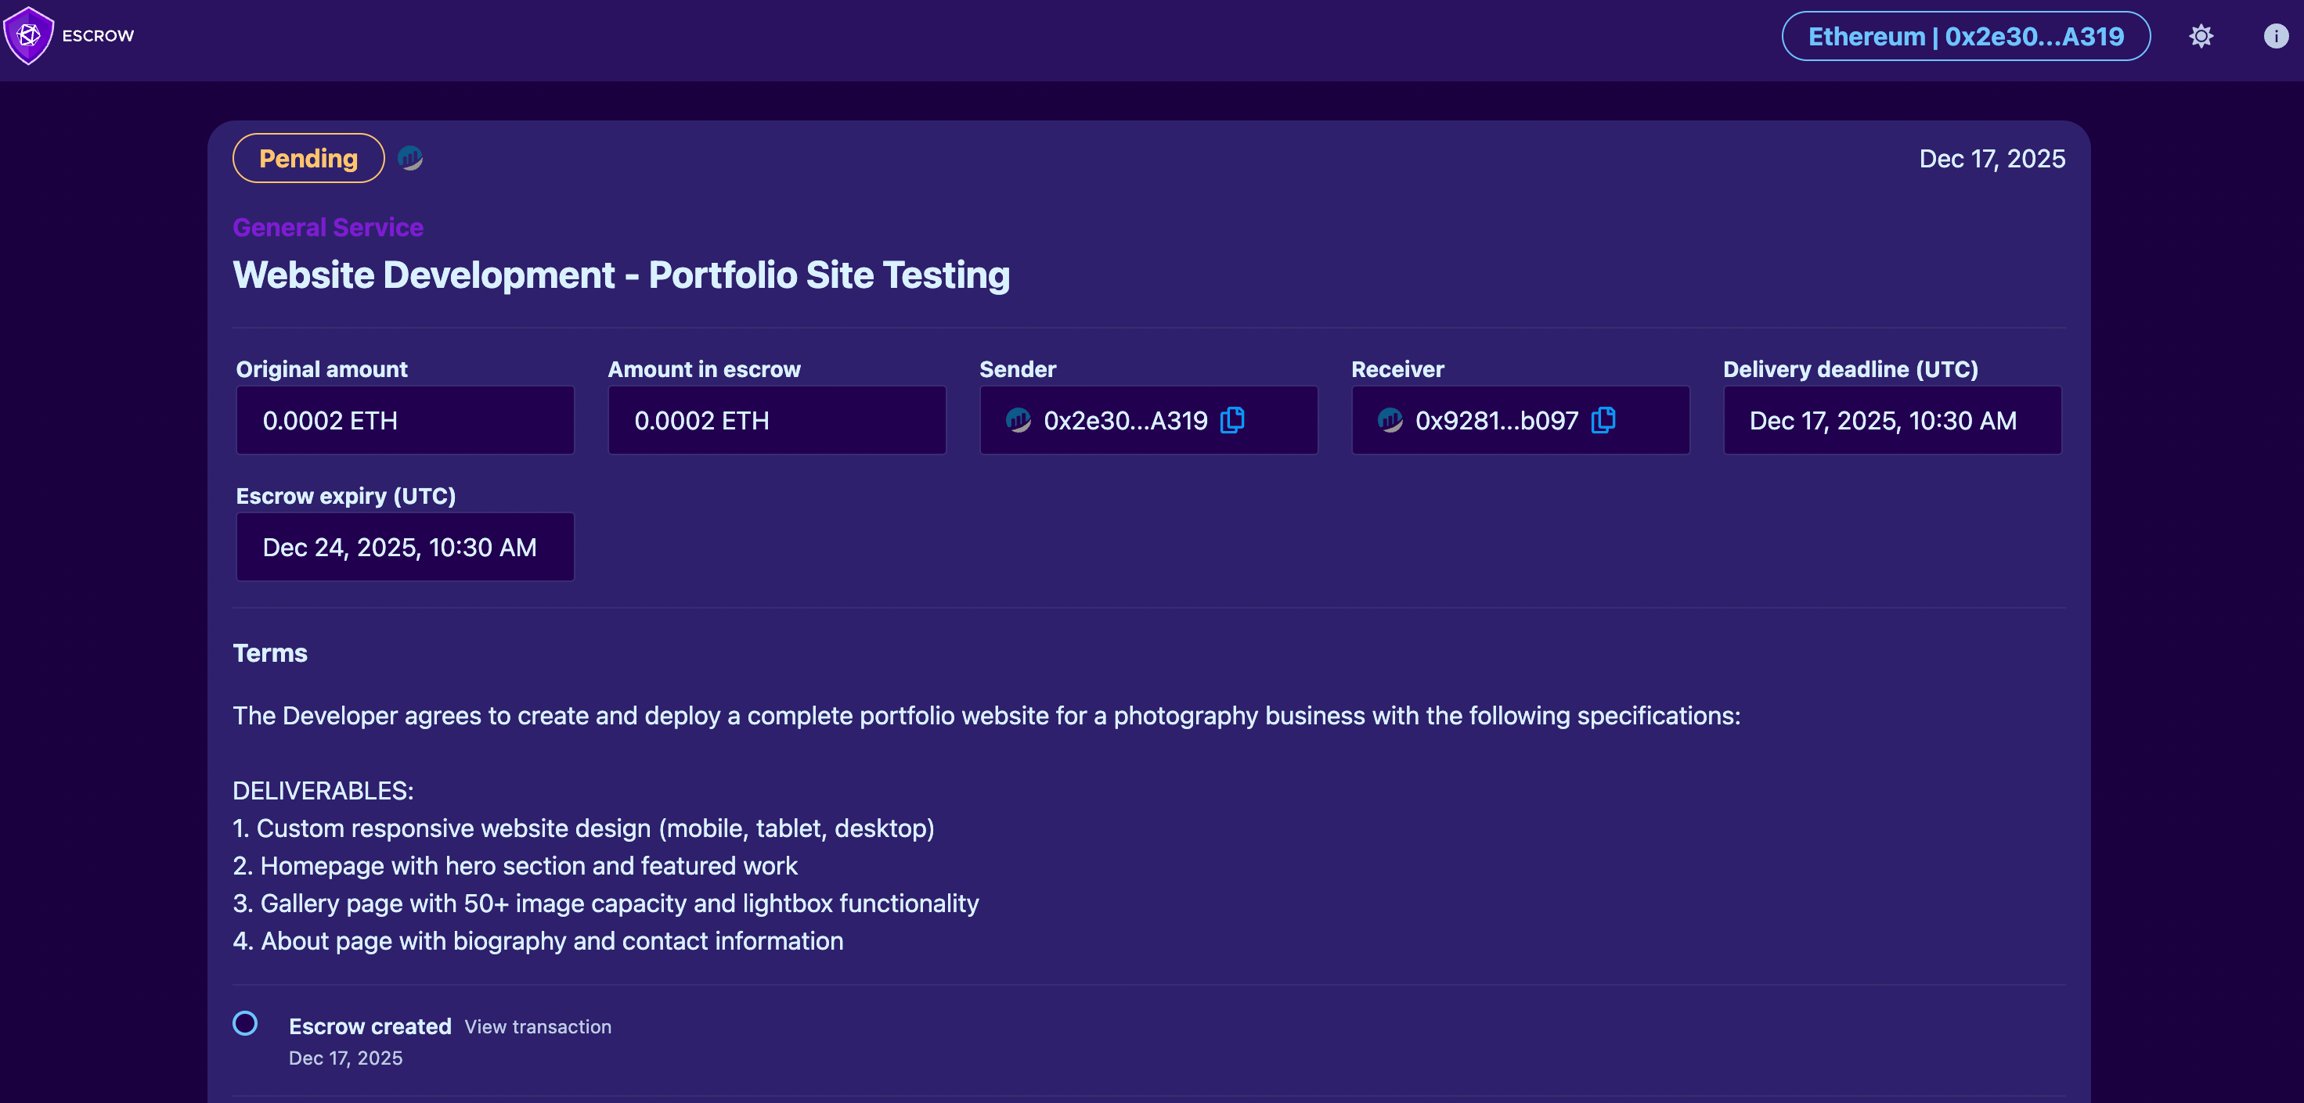
As the payment sender
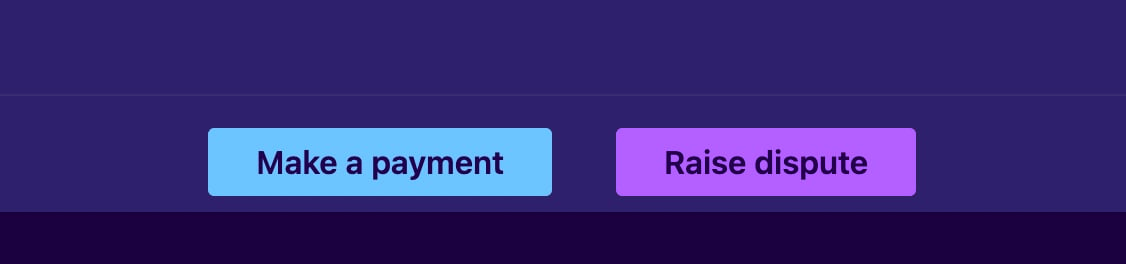
- Make payment: release funds to the receiver, in full or partially. Pay the full amount when the service or product was delivered as agreed. Pay a partial amount to settle a disagreement without a dispute; the remainder stays in escrow and can still be disputed.
- Raise dispute: click if you are unsatisfied with the delivery. You are shown the arbitration cost (for example, 0.03 ETH) and deposit the fee to initiate. The fee is refunded if you win.
As the payment receiver
- Reimburse: return funds to the sender, in full or partially. Reimburse the full amount if you cannot complete the delivery. Reimburse partially to keep payment for work completed; the remainder goes to you and the transaction closes.
- Raise dispute: click if the sender refuses payment despite you completing the terms. The arbitration cost and process are the same for both parties.

Settlements through partial payments
There is no separate settlement mode. When both parties agree to a compromise, one of them makes a partial payment or reimbursement:- Sender initiates: the sender pays a partial amount (for example, 0.7 of 1 ETH). It goes immediately to the receiver; 0.3 ETH remains in escrow. The receiver can accept, dispute the remainder, or reimburse some or all of it.
- Receiver initiates: the receiver refunds a partial amount (for example, 0.4 of 1 ETH). It returns to the sender; 0.6 ETH remains.
- Document the settlement agreement in writing
- Get the other party’s confirmation of the settlement terms
- Save all communication as potential dispute evidence
Step 4: Raise a Dispute
1
Raise the dispute
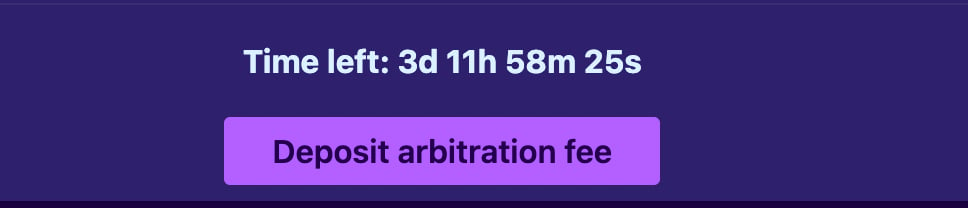
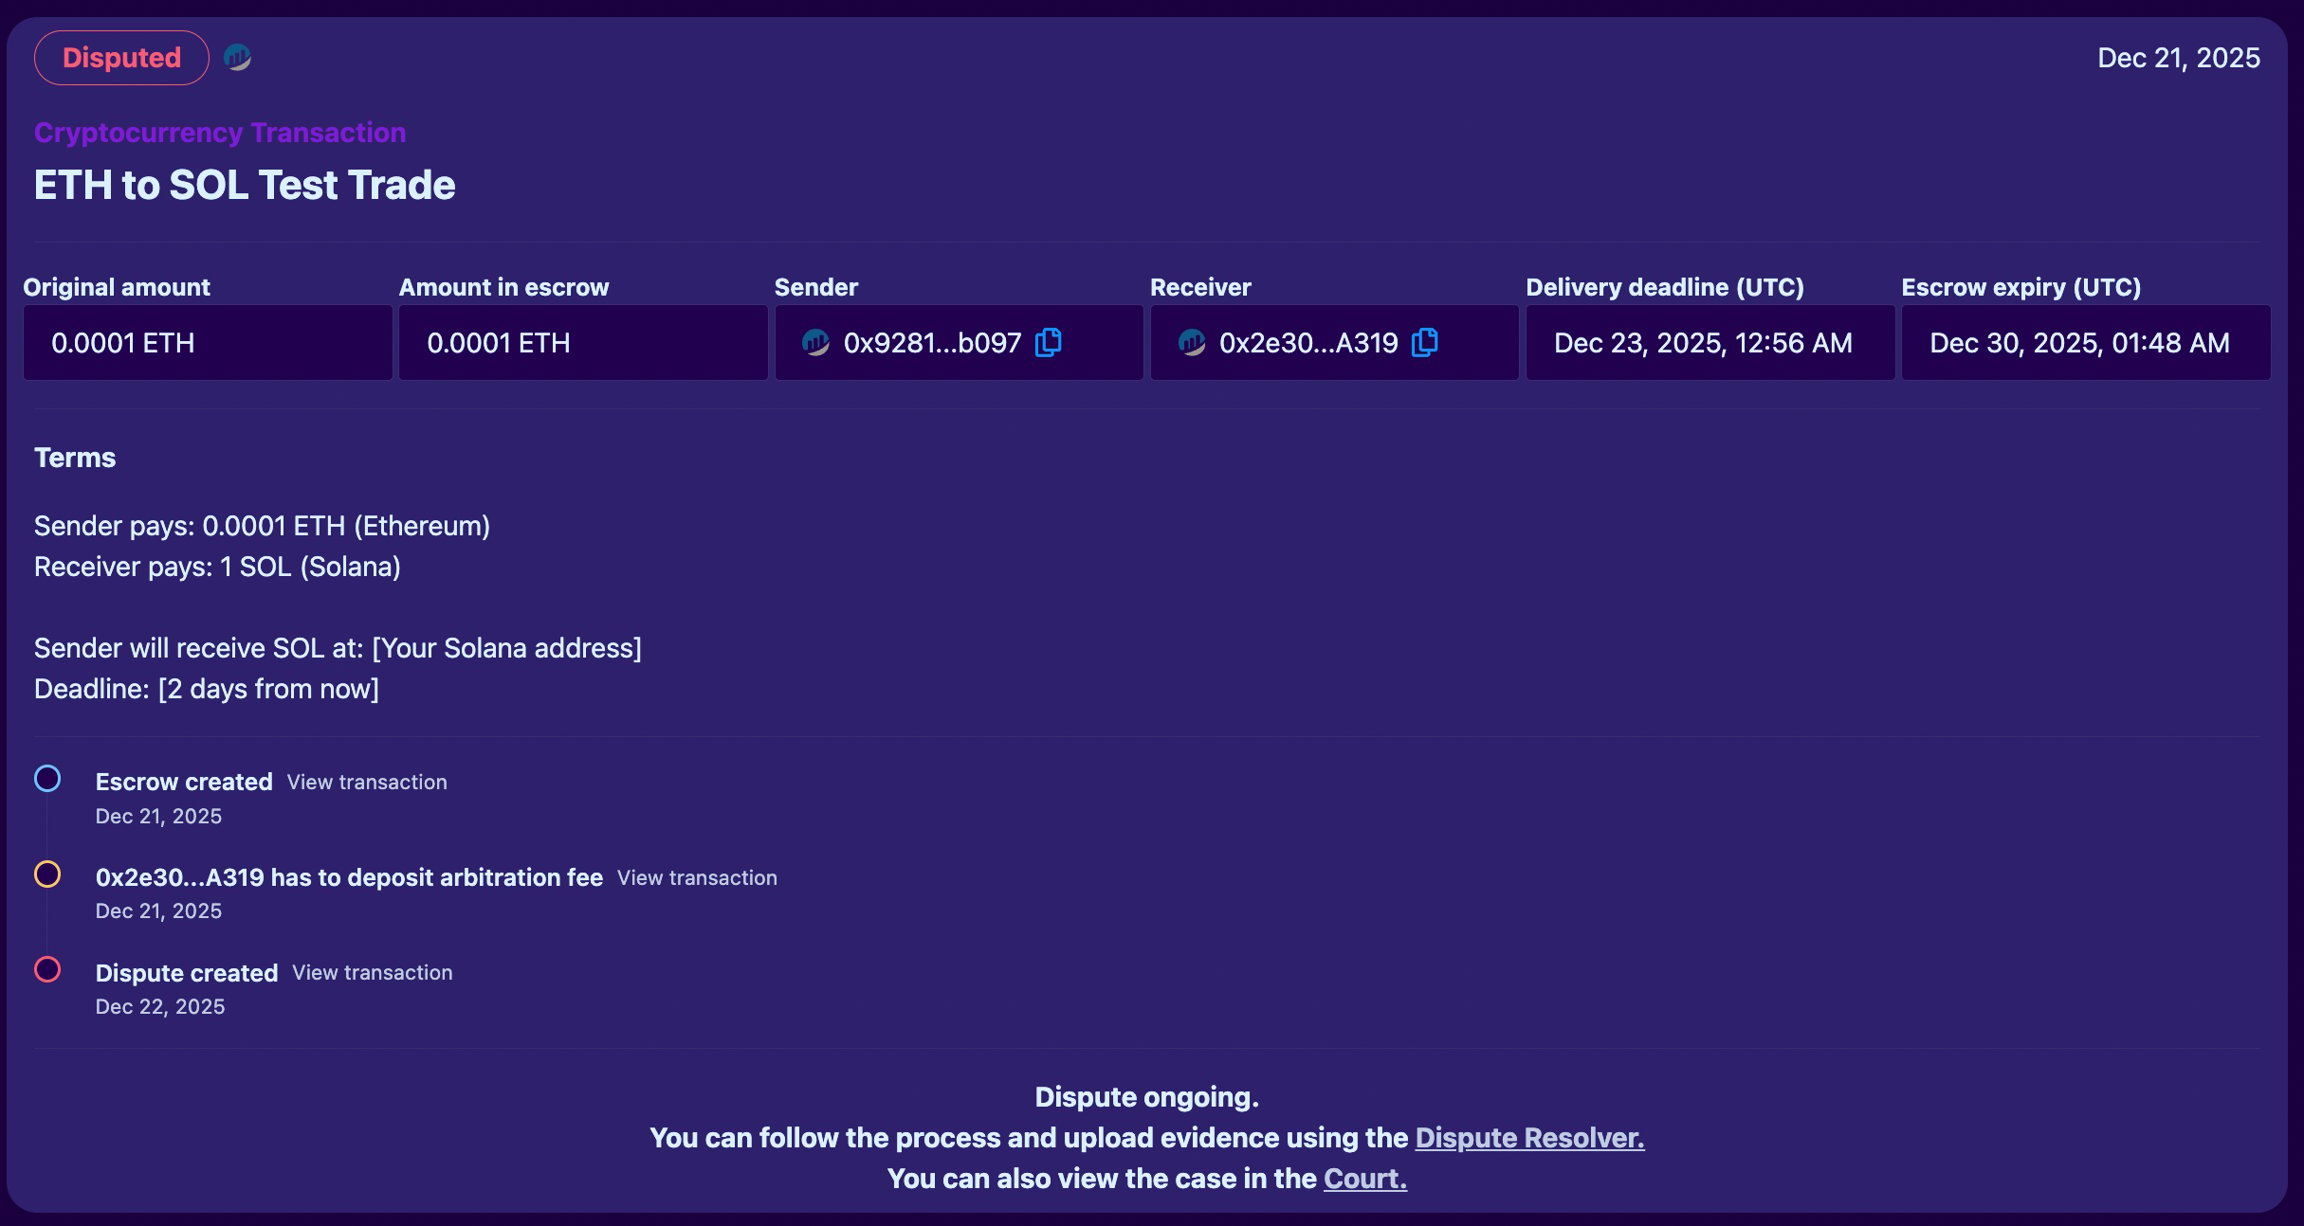
Either party clicks Raise Dispute and pays the arbitration fee (refunded if you win). The other party then has a limited time to pay their side of the fees; the interface shows the remaining time.If the other party fails to pay their side of the fees, the first paying party automatically wins.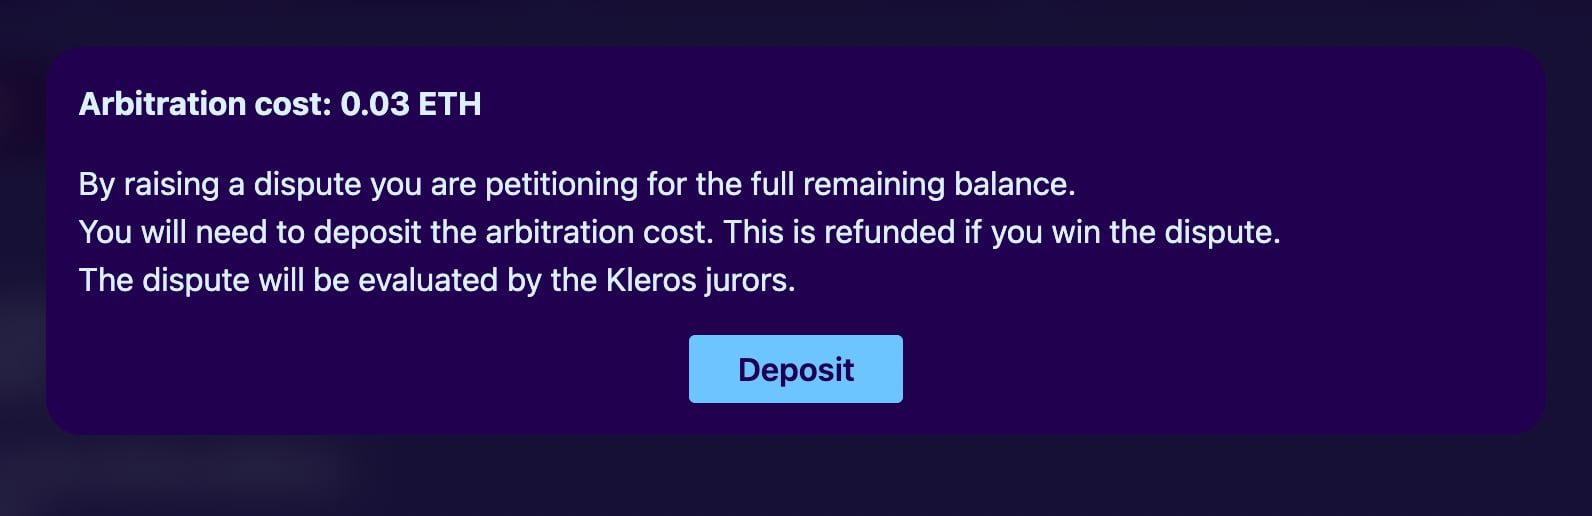
2
Share evidence
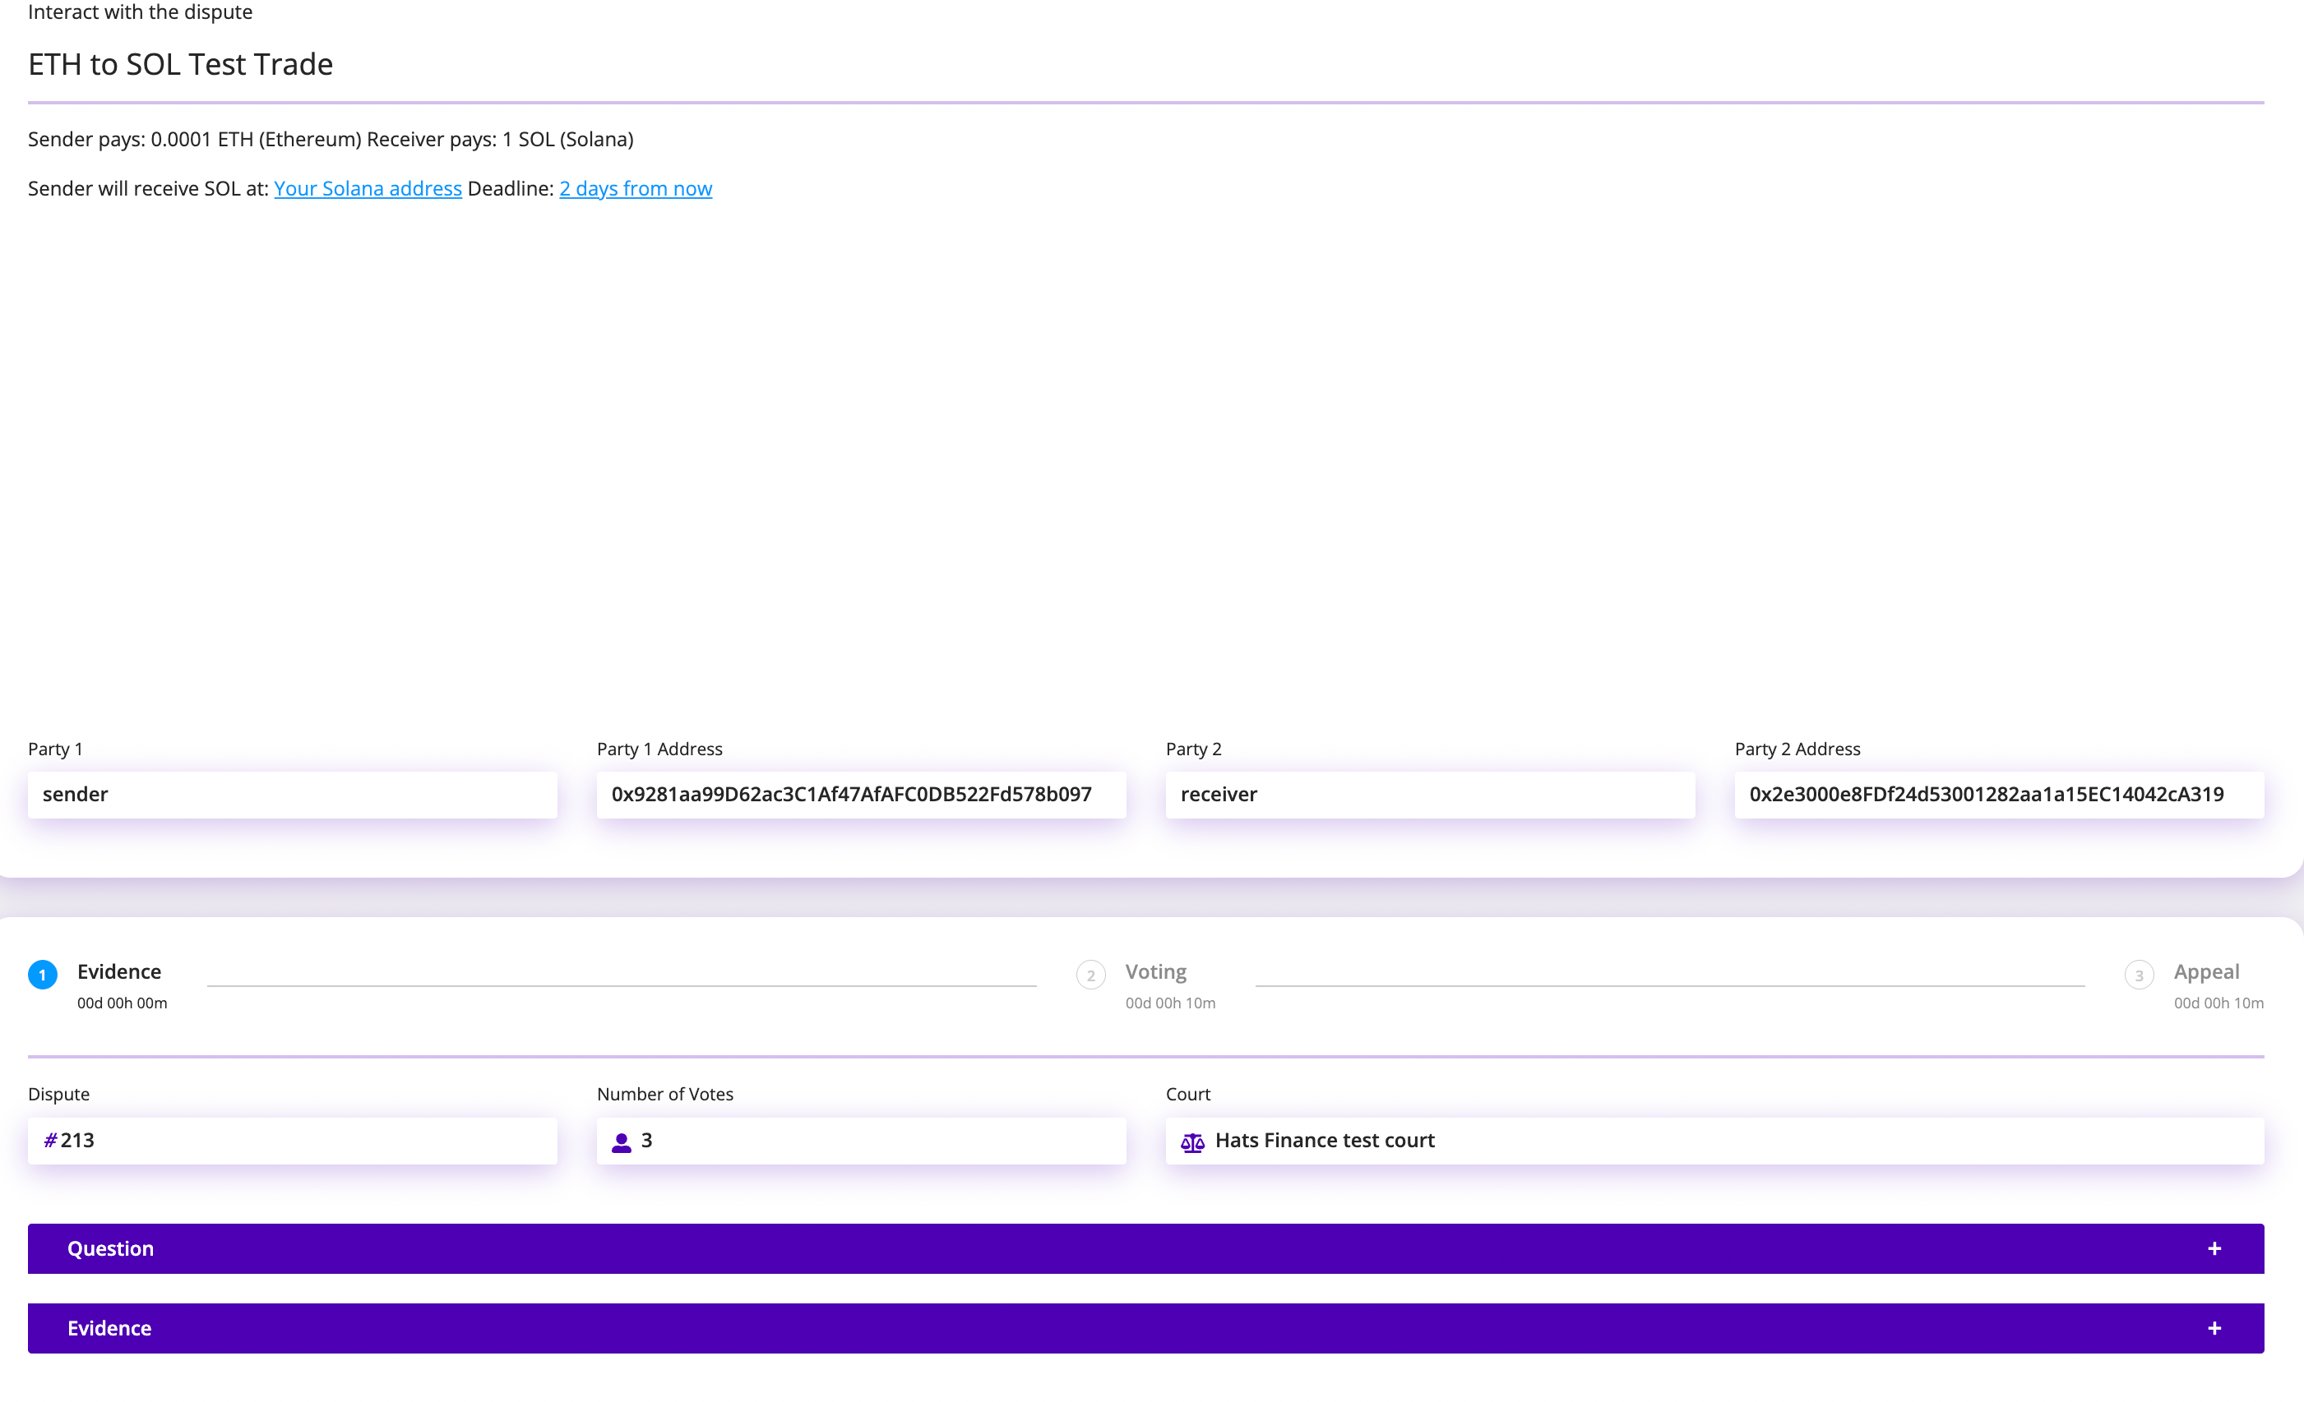
Submit evidence through the Kleros Dispute Resolver, not through the Escrow frontend:
- Go to resolve.kleros.io and connect your wallet
- Find and open your dispute
- Add your evidence and arguments
- Reference the original agreement document and its specific terms
- Add communication logs, proof of delivery, photos, and screenshots
- Use PDFs with EXIF data stripped if you want to stay anonymous
- Be clear and concise
3
Monitor the dispute
Track progress on the Escrow payment page (current status) and on resolve.kleros.io (detailed case information and voting status).
- First ruling: unsatisfied parties can appeal. Appeals bring more jurors and additional evidence rounds, and appeal fees must be paid within the appeal period.
- Final ruling: after no appeals remain, the winning party withdraws the funds and receives their arbitration fees back.
What’s Next?
Escrow Product Page
Learn how Kleros Escrow works, V1 and V2
Build with Escrow
Escrow smart contracts and technical documentation